Happy (early) St. Patrick’s Day!

In days of old, me and my honey would be sporting green at some local pub while drinking green beer, but things look quite different after becoming a mom. As much as I love sharing those goofy memories with my now spouse, I love creating goofy new ones with my daughter. One such tradition we started over the years is setting up a leprechaun trap.

Out first leprechaun trap in 2018

I don’t know who created the first laprechaun trap craft but they are all over Pinterest and super adorable! I love the creativity it inspires in my child as she plans out latches, trap doors, and camoflauge for the perfect setup. Several years ago, our first trap was just a shoebox, but now they sell leprechaun traps with decorations included in the craft section of most stores or find a pop-out trap on the back of a box of Lucky Charms.

This year’s trap has escalated quite a bit.

This year we took the easy route and followed the instructions on the back of the Lucky Charms cereal box for the trap. I say “easy” but we did go a little extra by making the box green, added popsicle sticks for support, and then including a moat with sharks ::shrugs::. Maybe it’s a Florida thing. At the grocery store my daughter kept searching for leprechaun bait so I grabbed the only thing magical and green (Sno Balls) and called it a day. Pro-tip: microwave a Sno Ball for 10-15 seconds. Yum!

Chomp Chomp

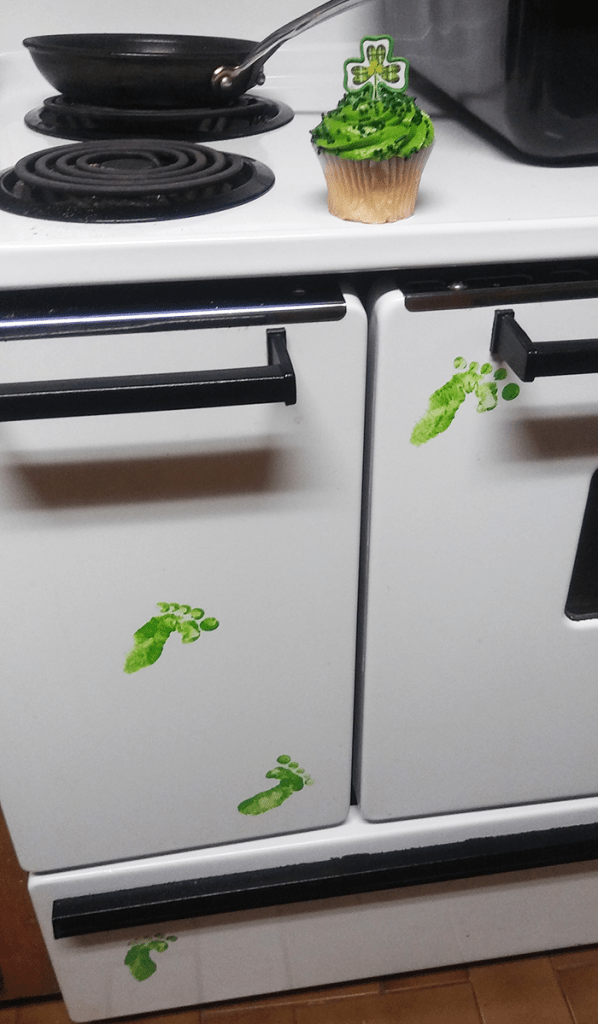
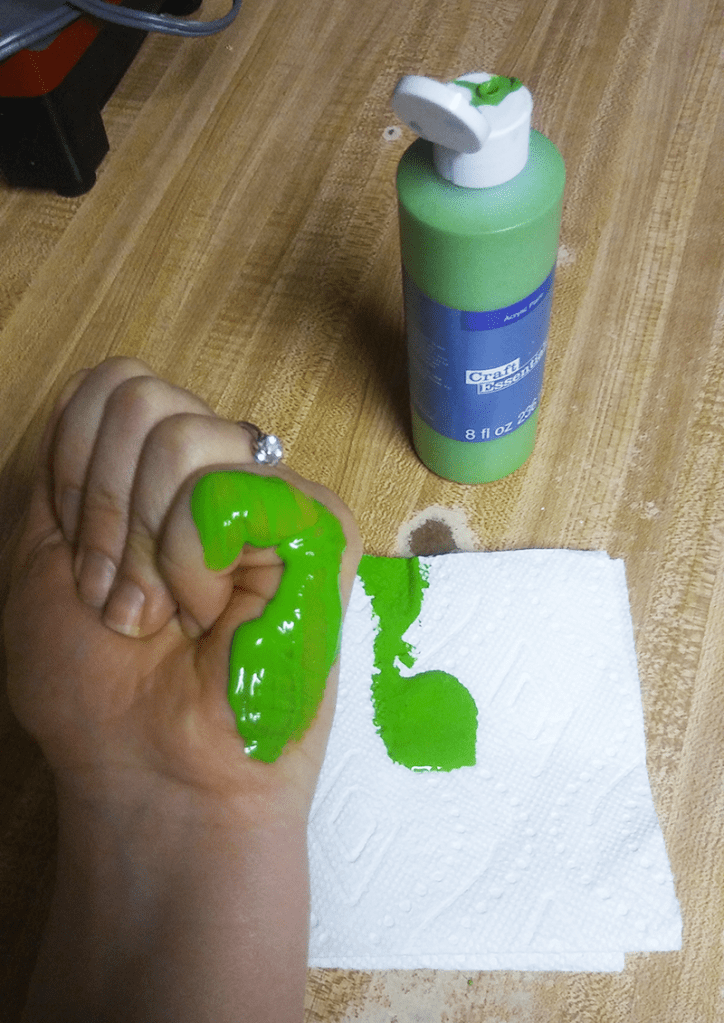
Every year we set up our trap a little early and I will leave out proof of the leprechaun’s presence. Sometimes he leaves a surprise in the toilet, foot prints by the stove, or a treat in exchange for the one he ate in the trap. My daughter has gotten so excited to see what the leprechaun does each night, sometimes I wonder if she enjoys it more than Christmas. She definitely thinks the leprechaun (now named Lucky) is in cahoots with the Elf on the Shelf.

Along with all the fun, I wanted to incorporate something educational so we took a trip to the library to pick out some books on the history of St. Patrick’s day and borrowed a CD of beautiful Celtic music. It’s been a fun way to learn about another country and we are definitely including celtic music for a calming alternative to the radio.

What are some fun ways you celebrate St. Patrick’s Day?

How to Make Your Own Plant Monster- A Tutorial


1 sm

I love everything about Halloween from making costumes to decorating my house for spooky fun! One year I did both by creating my own Monster Plant that acted as a prop for my Bombshell Poison Ivy costume and later as a spooky Halloween decoration around the house! Here’s how you can make your own.

Supplies

  • Mini, Plastic Pumpkin
  • Flower Pot (I used terra cotta)
  • Glass Bottle (I recycled a typical beer bottle about 9.5” tall)
  • Wooden Dowel (Needs to be about an inch taller than your bottle)
  • Green Gardening Tape
  • Glue Gun/Glue Sticks
  • About 2 feet or less of Plastic Vines
  • Gorilla Glue
  • Spray Paint (base color of choice) and Acrylic Paint for details (lighter base color pink and white)
  • Paint Brush
  • Box Cutter (or other cutting tool of choice)


1 Supplies.jpg

Step 1: Prepare the “bulb” of your Monster Plants by sketching out some pointy fangs on your pumpkin. I used a pencil to draw 2 scalloped rows, facing away from each other that wrapped around the pumpkin from one side of the stem around to the other side. The scalloped points will act as the teeth for your pumpkin. On the row that will act as the top teeth, add “canines” with a longer and large fang on either side of the pumpkin’s bottom. Check out pictures below to visualize it before drawing your teeth.

Step 1- sketch.png


Step 2: I then slowly carved along those lines using a box cutter. It was a long and tedious process but it got the job done. I would not recommend this for children to attempt.


Step 3: Set up your Monster Plant stem! I stood up my recycled glass bottle and placed my dowel in it at an angle (instead of straight up and down) with the bottle end snug against the angle of the glass and the top leaning against the rim with just a few inches of dowel sticking out the top. Hold the dowel in place with a drop of hot glue on the bottom of the dowel before inserting it and copious amounts of glue on top where it touches the rim of the bottle.


Step 4: Attach the “bulb” to the “stem”. I propped my “bulb” (mini pumpkin) on the end of the dowel so that the top end of the dowel sat in a crevice of the pumpkin stem (1) and the bottom “jaw” of the pumpkin rested on the rim of the glass (2). I then doused those 2 points of contact with hot glue. You’ll have to hold this in place and allow it to dry.

step 4 bulb to stem 1 and 2.png


Step 5: Wrap your stem with green gardening tape from bottom to top. I like how the layers gave it some texture. You could even lightly paint the tape with different shades of green or brown acrylic paint if you want to get fancy.

20171013_010155.jpg


Step 6: Spray paint your “bulb” in your color of choice. I chose spray paint because it’s quick and I wanted vibrant, even color, but you could use acrylic paint. If you choose spray paint, cover the bottom portion of your plant with a garbage bag to avoid color getting on the stem, and make sure you do this is a well ventilated area following proper precautions.

Bottle and paint.jpg

Step 7: Using a super glue of your choice, glue the stem (bottle) to the inside of a flower pot. Hot glue will not stick if using terra cotta which is what I used. Keep in mind, the bulb is fairly light but you will have to choose a flower pot “base” that is heavy enough to keep your stem and bulb portion of the Plant Monster from tipping over.

20171013_171440

Step 8: Once dry, add details like spots on the bulb to give it some character! Choose an acrylic paint that is lighter than your base color for the spots to really pop. Paint those teeth white!

20171013_172308

Step 9: Give your Plant Monster some leafy limbs! I wrapped a small length of plastic vines around my Plant Monster stem and let in sit inside the bot.

20171013_185618.jpg

Tip: For an extra creepy touch, leave some “leftovers” from its last meal lying around your plant. You could place icky, fake bugs or even some fake limbs sticking out of its jaws! “Feed me, Seymour!”

1 Zoe II.jpg

This creation was inspired by a drawing I saw in a Halloween workbook my daughter had. I affectionately named our little creation Zoe II which made me realize it would be a fun prop for any Little House of Horror fans out there too. My little Zoe II tagged along with me for my DC Poison Ivy Bombshell group before settling at home for the holidays.

Zoe and Kat.jpg

If you choose to create your own, please share your photos! I’d love to see your little monsters.

Happy Halloween!!